


This is an old revision of the document!
802.1x Networks in Windows 7
This document will guide you through connecting to the new 802.1x wireless profiles in Windows 7. This should be similar to the procedure in XP (Intel Pro/Set profiles for which can be imported from \\fsvs01\public\Wireless-Profiles\802.1x) , but some of the initial windows may be named differently.
- Open the Network and Sharing Center (in Control Panel or through the network icon in the system tray) and click Manage Wireless Networks on the left side.

- Click Add, and select Manually create a network profile
- Enter the network name (
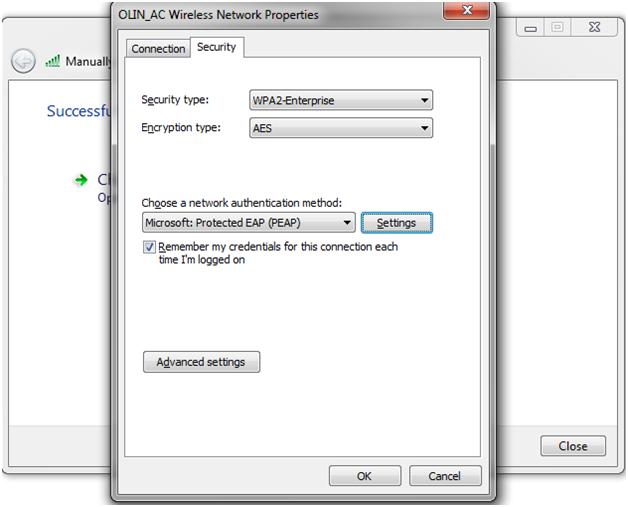
OLIN_XXwhereXXis the building code), and select WPA2-Enterprise security, AES Encryption, then click Next - Click the link to Change connection settings
- Under the Security tab, click the Settings button next to the Network Authentication Method
- Uncheck the top check box next to Validate Server Certificate and check the bottom check box next to Enable Identity Privacy and enter a name (such as yours).
- If your computer is not on the domain: Click Configure and uncheck the box to use your Windows logon name and password. If you are on the domain (which you shouldn’t be for Windows 7 as of 2/12/2010), do not perform this step as it will likely make things harder for you.
- Click OK, then click Advanced Settings on the main Security Tab.
- Check the box to Specify authentication method, and select User authentication from the combo box
- If your computer is not on the domain: Click Save Credentials (if you want them saved) and enter your username (as
<username>@olin.edu, notolin.edu\<username>) and domain password - Click OK twice then Close

